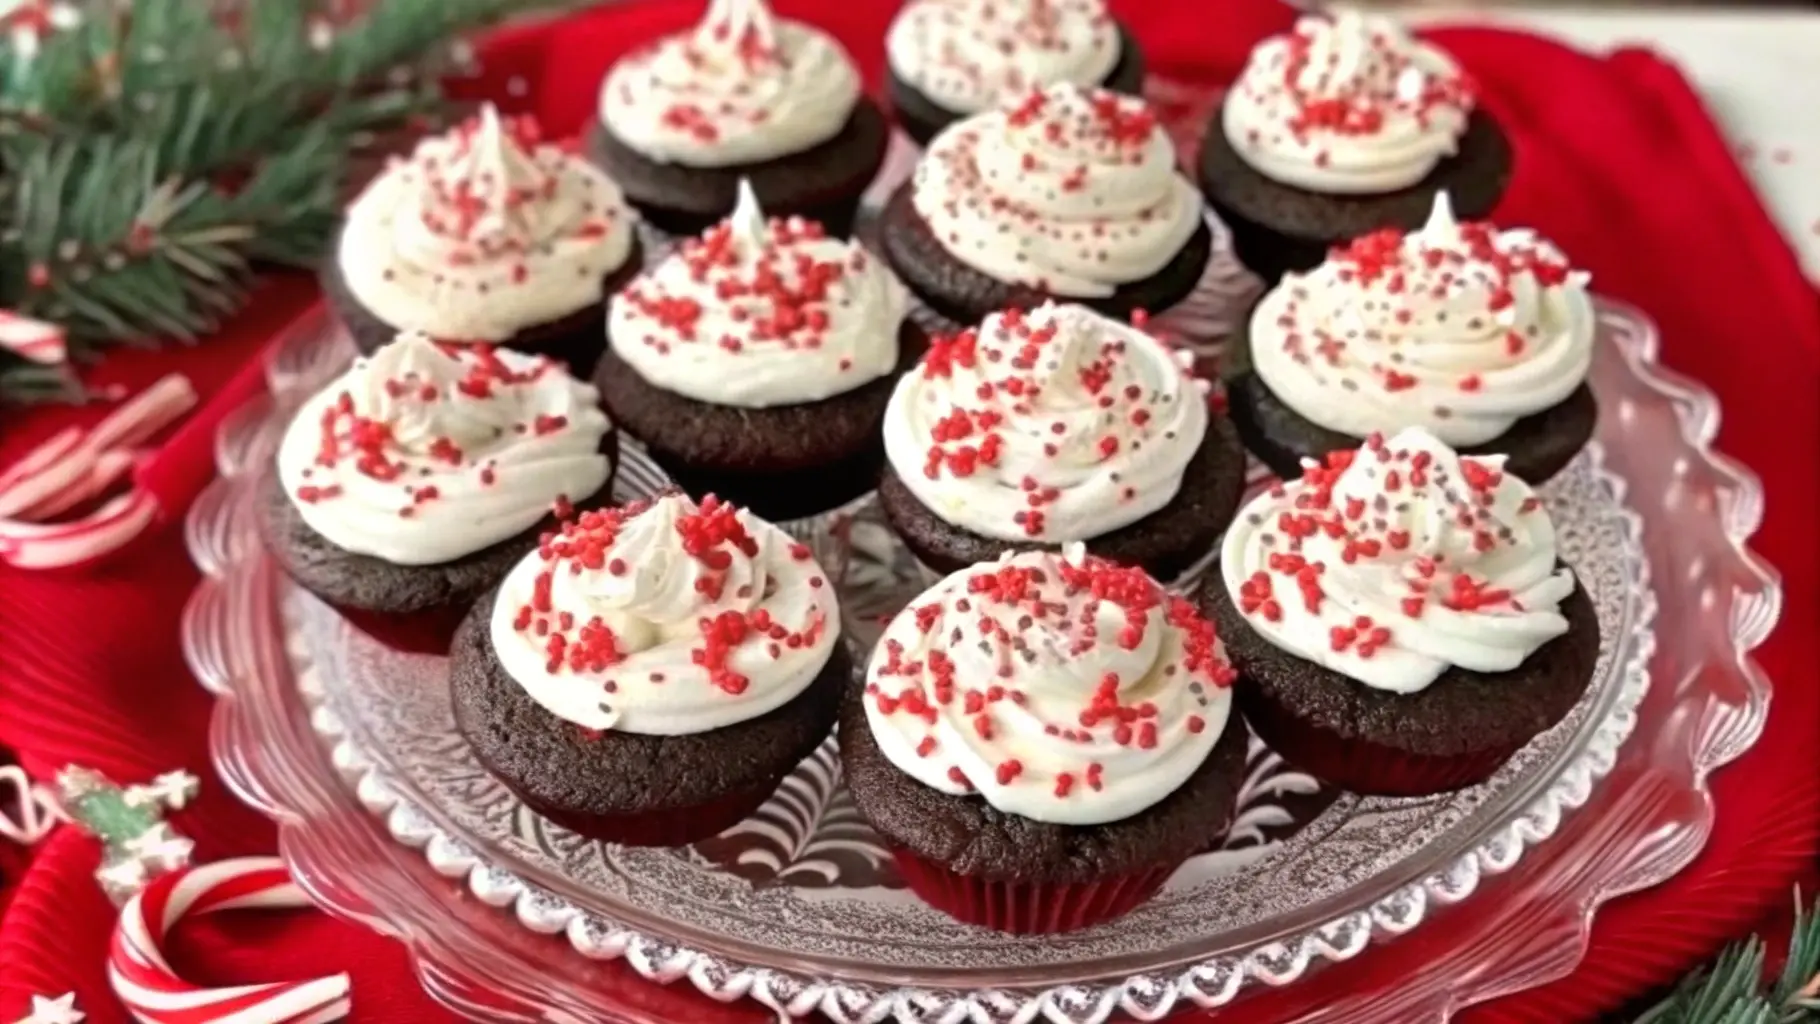
Ingredients Breakdown
Alright, before we start throwing things into a mixing bowl, let’s talk ingredients. The secret to perfect Hot Cocoa Peppermint Cookies isn’t just the recipe—it’s using the right ingredients. Don’t worry, no weird or hard-to-find stuff here, just a few key choices that make all the difference.
Essential Components for the Perfect Cookie Base
A good cookie starts with a solid base. You’ll need:
- Butter – Go for unsalted butter so you can control the saltiness. Softened, not melted!
- Sugar – A mix of brown and white sugar gives these cookies a chewy center with crispy edges.
- Eggs – Helps bind everything together. Room temperature works best.
- Flour – All-purpose flour is the way to go. Sift it if you want an extra-soft texture.
- Baking soda & salt – These help with the cookie’s structure and balance out the sweetness.
Selecting the Right Cocoa Powder and Chocolate Chips
Since these cookies are based on hot cocoa, cocoa powder matters. Use a good-quality unsweetened cocoa powder—it gives the dough that deep, rich chocolate flavor. If you want a super indulgent taste, Dutch-processed cocoa is a game-changer.
And for the chocolate chips? Semi-sweet works best because it doesn’t overpower the peppermint. But hey, if you’re a dark chocolate lover, go for it! You can even mix in some white chocolate chips for extra contrast.
Incorporating Peppermint: Extracts vs. Crushed Candies
Now, the peppermint. You’ve got two choices:
- Peppermint extract – Strong, concentrated flavor. Use a tiny amount, or your cookies might taste like toothpaste.
- Crushed peppermint candies – A more subtle, sweet peppermint flavor with a little crunch. These also add a fun festive touch.
The Role of Marshmallows in Achieving a Gooey Center
Hot cocoa isn’t complete without marshmallows, and neither are these cookies! Mini marshmallows melt into little pockets of gooey goodness, while marshmallow bits stay firmer. If you want the classic melt-in-the-middle effect, slightly freeze the marshmallows before mixing them into the dough. (Trust me, it’s worth it!)
Step-by-Step Recipe Guide
Now for the fun part—baking! These Hot Cocoa Peppermint Cookies come together in a few easy steps. The key? Following the process just right to get that chewy, chocolatey, peppermint-kissed magic in every bite.
Preparing the Dough: Mixing and Consistency Tips
- Cream the butter and sugars. In a large bowl, beat softened butter with white and brown sugar until it’s fluffy. This step is crucial—it creates the chewy texture!
- Add eggs and peppermint extract. Mix until just combined. Overmixing makes the cookies dense.
- Whisk the dry ingredients separately. In another bowl, combine flour, cocoa powder, baking soda, and salt. Slowly add this to the wet ingredients.
Shaping and Stuffing: Ensuring Even Distribution of Ingredients
- Fold in the chocolate chips and crushed peppermint. Use a spatula to gently mix them in—this keeps the dough light.
- Add marshmallows carefully. If using mini marshmallows, press them into the dough balls before baking instead of fully mixing them in (this keeps them from melting too much).
- Scoop and shape. Use a cookie scoop or roll the dough into tablespoon-sized balls.
Baking Techniques: Temperature and Timing for Optimal Results
- Preheat the oven to 350°F (175°C). Line your baking sheet with parchment paper.
- Bake for 9-11 minutes. You want the edges set but the center slightly soft—cookies keep baking after they’re out of the oven.
- Let them cool. Wait 5 minutes before transferring to a wire rack. It’s hard, but worth it!
Cooling and Storing: Maintaining Freshness and Texture
- Store in an airtight container. This keeps them chewy for up to a week.
- Freeze for later. Baked cookies freeze well! Just thaw and microwave for 10 seconds to make them gooey again.
- Dough storage hack: If you want fresh cookies anytime, freeze raw dough balls and bake them straight from the freezer. Just add 1-2 extra minutes to the baking time.
And that’s it! Follow these steps, and you’ll have warm, soft, Hot Cocoa Peppermint Cookies ready to impress.
Variations and Enhancements
So, you’ve mastered the classic Hot Cocoa Peppermint Cookies. But why stop there? There are plenty of ways to tweak this recipe to match your taste buds (or whatever ingredients you’ve got lying around).
Alternative Mix-Ins: Nuts, White Chocolate, and More
Not a fan of peppermint? No worries—you can totally switch it up!
- White chocolate chips – These add a creamy sweetness that pairs beautifully with cocoa.
- Toffee bits – A little crunch with a caramel-like flavor? Yes, please.
- Chopped nuts – Walnuts or pecans give a nice contrast to the soft cookie texture.
- Espresso powder – For a deep, rich chocolate boost (trust me, it won’t taste like coffee).
Gluten-Free and Vegan Adaptations
Got dietary restrictions? You can still enjoy these cookies!
- Gluten-free version – Swap the flour for a good 1:1 gluten-free baking blend.
- Dairy-free version – Use plant-based butter and dairy-free chocolate chips.
- Egg-free version – A flax egg (1 tbsp ground flax + 2.5 tbsp water) works wonders.
- Vegan marshmallow trick – Standard marshmallows contain gelatin, so use vegan ones like Dandies.
Decorative Touches: Drizzles, Sprinkles, and Festive Shapes
Want to make these cookies extra pretty?
- Drizzle melted chocolate over the top for a bakery-style finish.
- Dust with powdered sugar for a snow-dusted effect.
- Use cookie cutters to shape them into stars or hearts (great for gifts!).
- Top with extra crushed peppermint just before they set for extra crunch.
For more fun baking ideas, check out our recipes blog!
Serving Suggestions and Pairings
So, you’ve got a fresh batch of Hot Cocoa Peppermint Cookies. Now what? Pairing these with the right drinks and occasions makes them even better.
Ideal Occasions for Hot Cocoa Peppermint Cookies
These cookies scream holiday season, but don’t let that stop you from making them all year long!
- Holiday gatherings – Perfect for Christmas cookie swaps or family get-togethers.
- Movie nights – Cozy up with a warm drink and a plate of these bad boys.
- Bake sales – These stand out from the usual chocolate chip cookies.
- DIY gift boxes – Pack them in a festive tin for an easy homemade gift.
Beverage Pairings: From Classic Milk to Festive Cocktails
Cookies are always better with something to sip on!
- Hot cocoa (duh) – Because why not double down on the theme?
- Milk – Classic, simple, and lets the flavors shine.
- Peppermint mocha – If you want a coffee kick with your sweet treat.
- Mulled wine – If you’re feeling fancy and festive.
- Vanilla chai latte – Warm, spicy, and surprisingly perfect with chocolate.
These cookies also work great as a sweet snack after dinner or with a lazy Sunday brunch. No matter how you enjoy them, they’ll bring that warm, cozy feeling every time!
Final Thoughts
And there you have it—your ultimate guide to Hot Cocoa Peppermint Cookies! Whether you’re baking these for the holidays, a cozy night in, or just because chocolate and peppermint are the best combo ever, you really can’t go wrong.
The beauty of these cookies? They’re easy, crazy delicious, and totally customizable. Plus, they make your kitchen smell like a winter wonderland!
So, what are you waiting for? Grab your ingredients, preheat that oven, and treat yourself to a batch of warm, gooey perfection. And hey—don’t forget to share (or, you know, don’t).
For more tasty treats, check out our recipes blog!
Frequently Asked Questions
Got questions? No worries! Here are some common FAQs about making the best Hot Cocoa Peppermint Cookies.
Can I Use Peppermint Oil Instead of Extract?
You can, but be careful—peppermint oil is way stronger than extract! If a recipe calls for 1 teaspoon of peppermint extract, you’ll only need about ¼ teaspoon of peppermint oil. A little goes a long way.
How Do I Prevent Marshmallows from Melting Out of the Cookies?
Oh, the marshmallow struggle is real. Here’s the trick: • Use mini marshmallows instead of full-sized ones. • Slightly freeze them before mixing into the dough. • If they keep oozing out while baking, try tucking them inside the dough ball instead of mixing them throughout.
What’s the Best Way to Store These Cookies?
• Keep them in an airtight container at room temperature for up to a week. • For extra freshness, add a slice of bread to the container—it keeps them from drying out. • If you really want them to last, freeze them for up to 3 months and reheat in the microwave for 10 seconds!
Can I Freeze the Dough for Later Use?
Absolutely! Roll the dough into balls and freeze them on a baking sheet first, so they don’t stick together. Once solid, toss them in a zip-top bag. When you’re ready to bake, just pop them on a tray and add 2 extra minutes to the baking time—no need to thaw!
How Can I Make the Cookies More or Less Minty?
If you’re all about that peppermint punch, add extra crushed candy canes or a tiny bit more peppermint extract. On the flip side, if you like just a hint of mint, cut the extract down to ¼ teaspoon and use more chocolate chips instead.
And that’s it—now you’ve got all the tips to nail these cookies like a pro!